Cart
No products in cart
What is battery sulfation and how can you deal with it?
Author: Maddy Phillips NOCO® Team Leader
What is battery sulfation?
Battery sulfation is the process of lead sulfate crystals forming on a battery cell. Sulfation will occur to some extent in all batteries throughout their life. However, under prolonged storage conditions, rapid sulfation, overcharging, or undercharging of a battery can occur. As more sulfate builds up in a battery, the less efficient the battery becomes. Sulfation is the number one cause of premature failure in lead-acid batteries and can lead to any of the following: loss of starting power, longer charging times, excessive heat buildup in your vehicle’s electrical system, shorter run times between charges, and ultimately, reduced battery life.
How can I prevent battery sulfation?
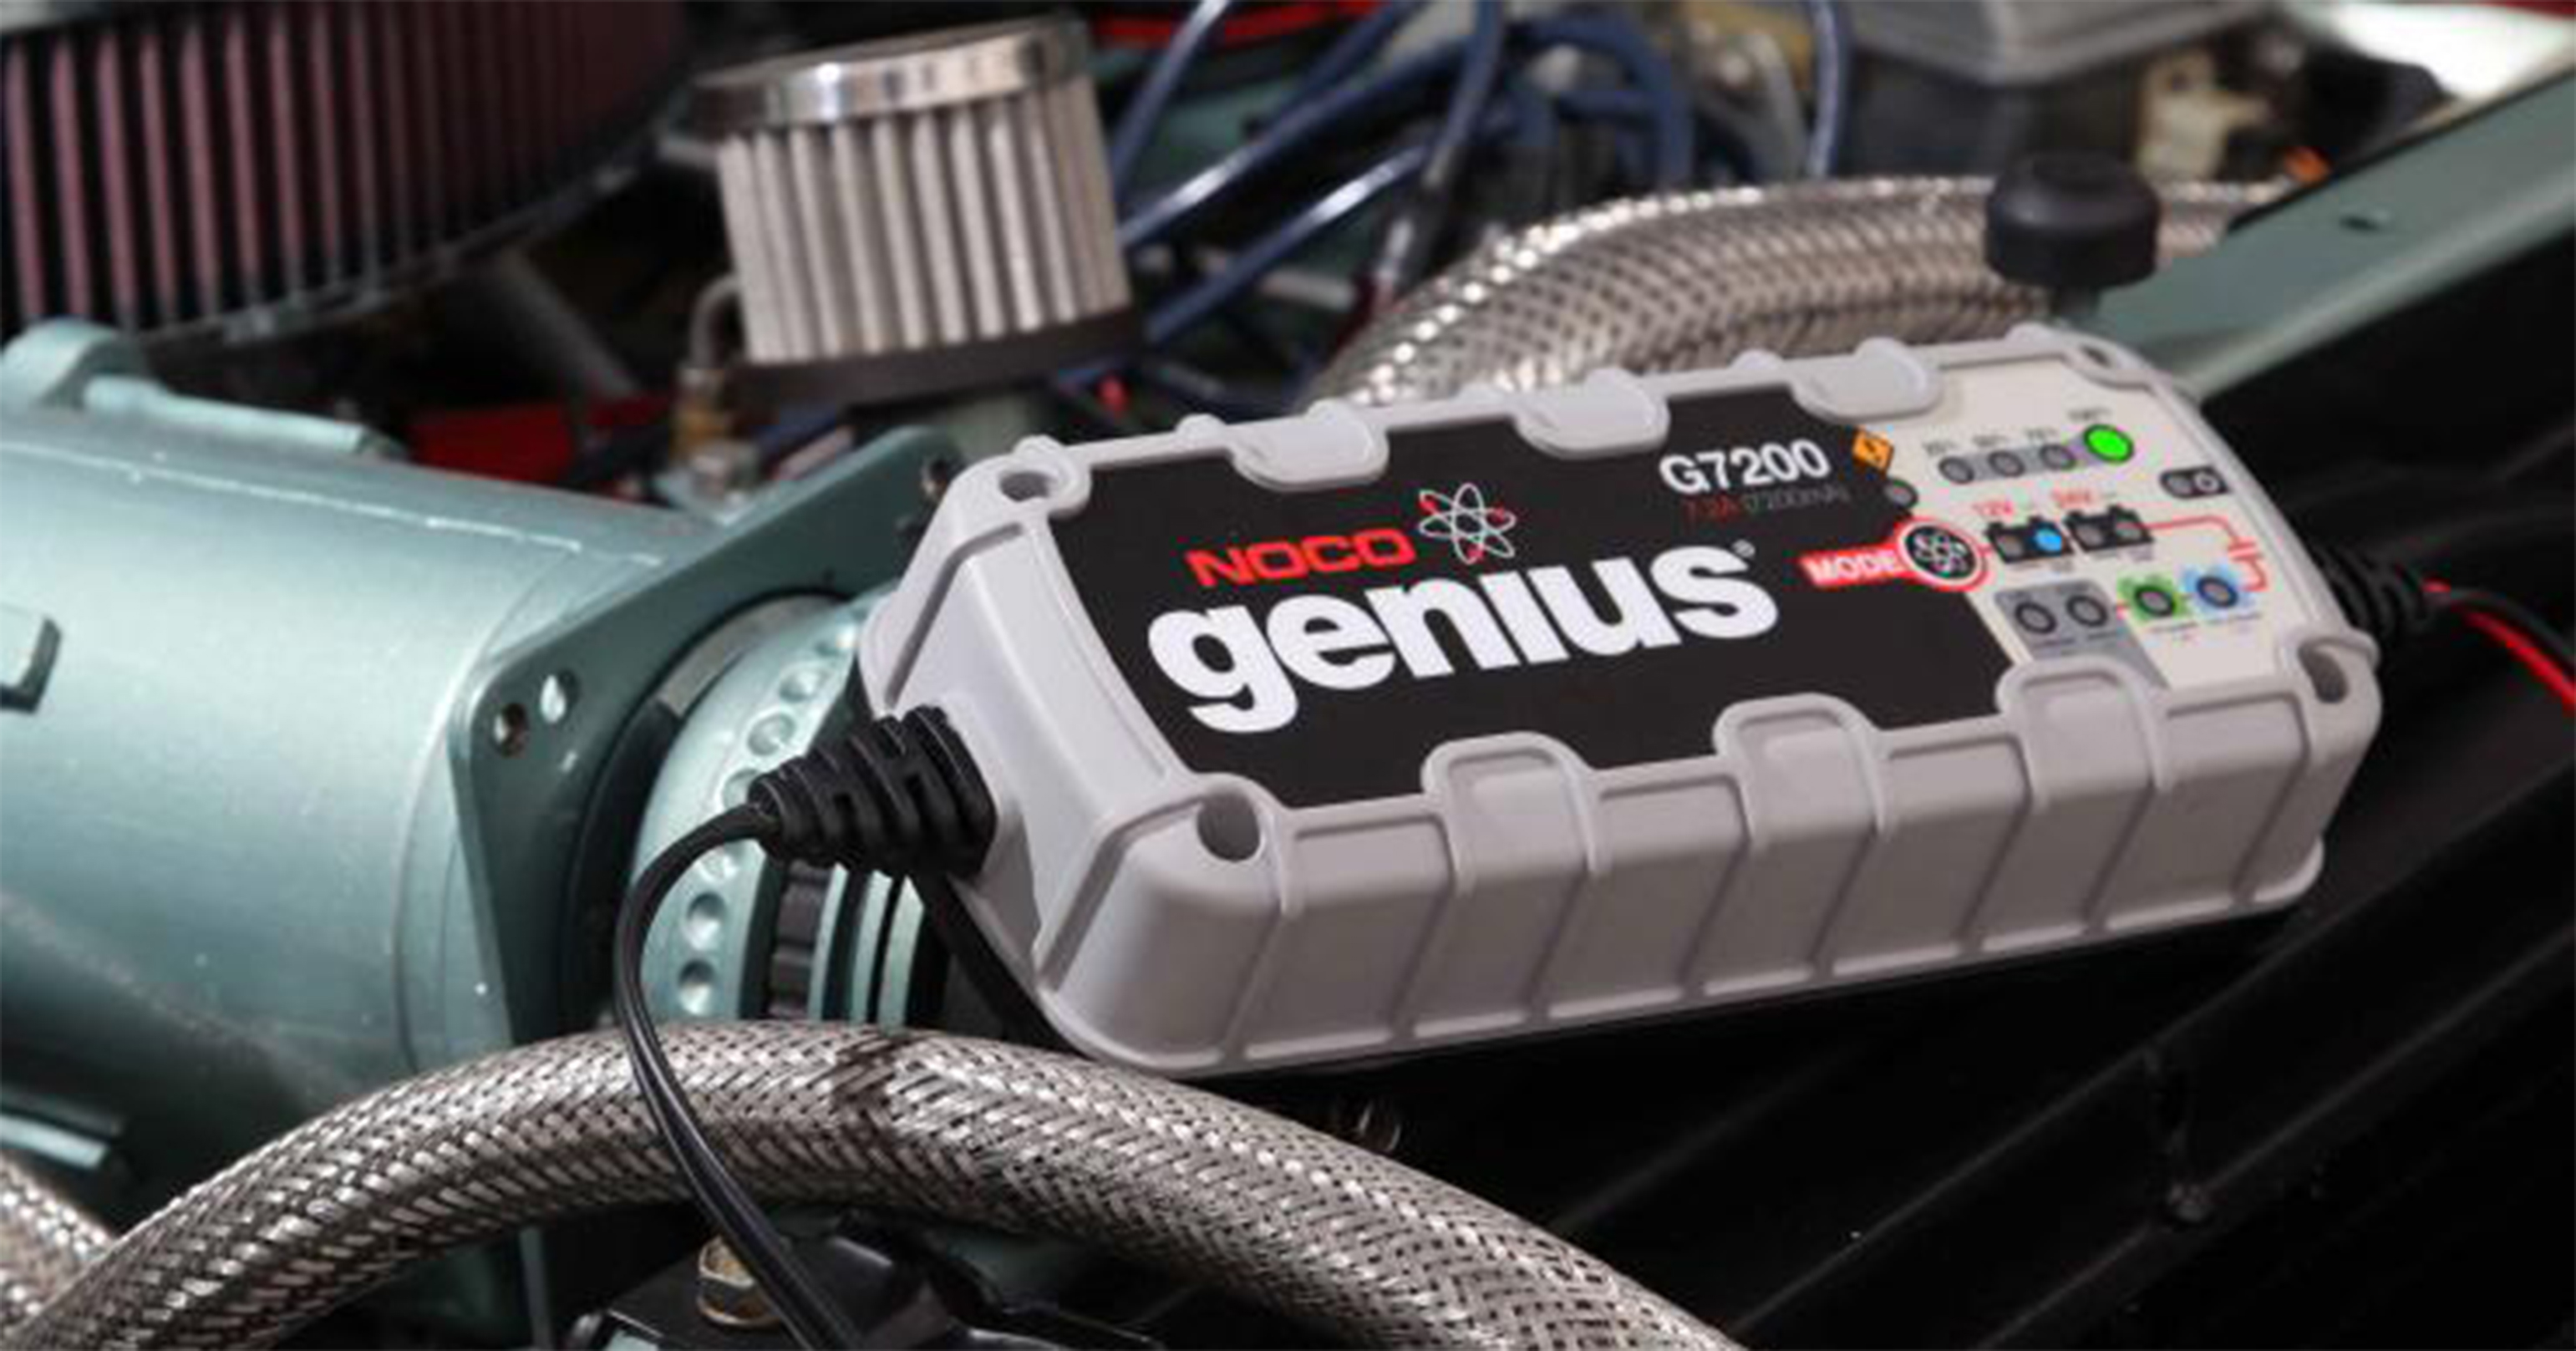
If you want to save money and time by maximizing the life expectancy of your battery, it’s simple to prevent battery sulfation. Consider the following suggestions to prevent excessive battery sulfation: charge your lead-acid battery regularly, fully charge whenever possible, and don’t let batteries go flat or unused for long periods of time. The image on the left shows a NOCO®Genius G7200 7.2 A smart charger, which is the perfect tool for maintaining your battery. The less maintenance, the faster lead sulfate crystals will form and stick to the battery plates. If you suspect your battery is sulfated, it is still possible to revive your battery if diagnosed and treated properly.
How can I diagnose if my battery is sulfated?
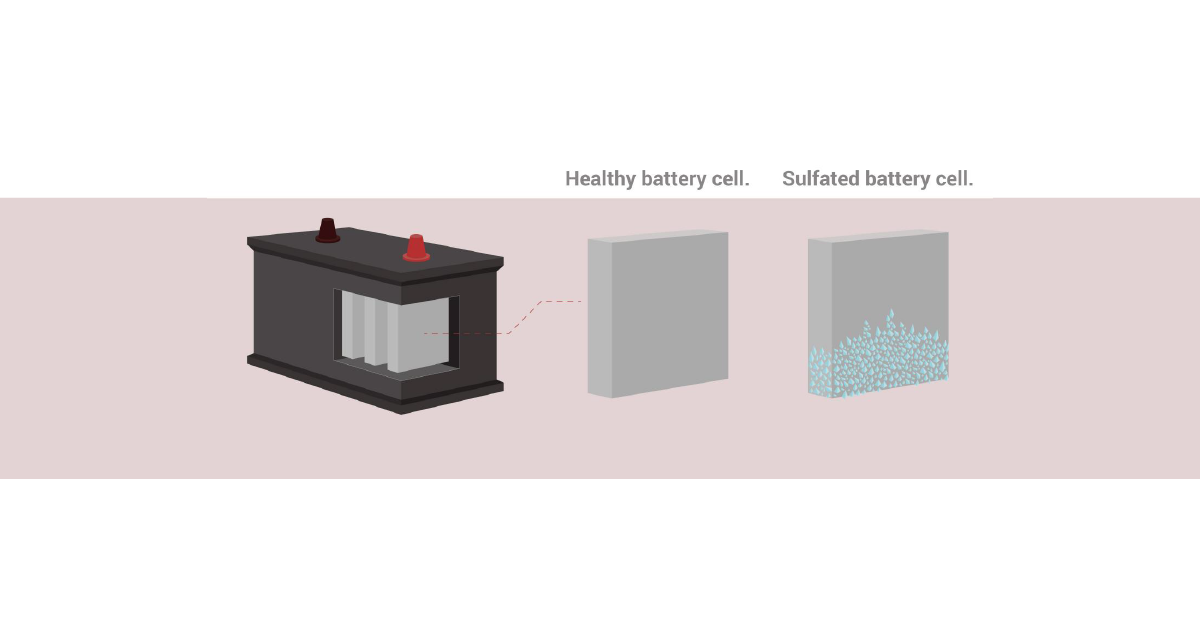
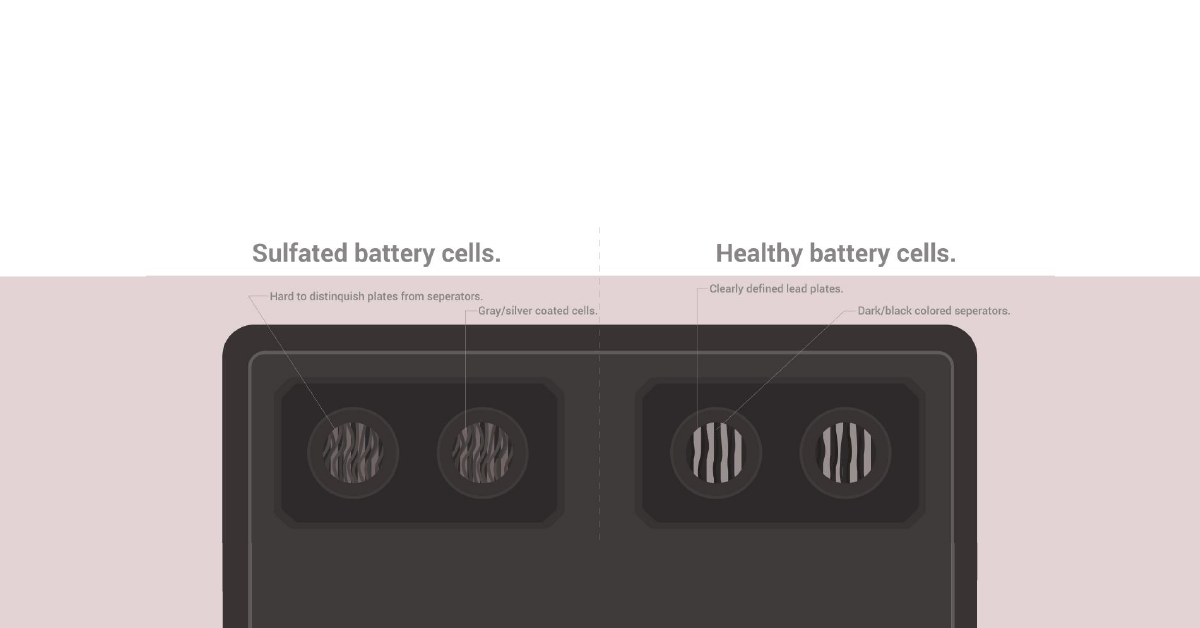
If you are the victim of a sulfated battery, you will start to notice signs of reduced performance. The most common sign of a sulfated battery is that the battery does not charge very well or simply does not charge at all. If you suspect that your electronic accessories are not receiving enough power (poor air conditioning performance, weak headlights), this is a strong sign that your battery is sulfated. If your battery is discharging much sooner than expected, then there is a good chance that this is due to sulfation. You can check the battery’s constant voltage with a multimeter. Anything less than 12.6 Volts means that your battery is low on charge, likely as a result of sulfation. There is also the option of performing a visual diagnostic test for sulfation on your battery cells. This requires opening your battery, so it is recommended to do this over a covered surface in a well-ventilated area. Carefully remove the caps on the top of the battery with a flat screwdriver. You will be able to see through each hole and observe the battery cells, separators, and electrolyte level. In a battery that has undergone typical sulfation, the cells and separators will be gray, dirty, and difficult to distinguish from each other. In a battery that is in good condition, the silver lead cells will be clean and clearly distinguishable from the black separators. Below is a graphic diagram to help visually identify battery sulfation.
How can you deal with battery sulfation?
There are two types of battery sulfation. Reversible (light) sulfation, and permanent (heavy) sulfation. If diagnosed early enough, a lightly sulfated battery can easily be restored to good condition. Desulfurizing your battery has never been easier with the NOCO® G3500, G7200, G15000, or G26000 smart chargers. See below for a step-by-step guide to desulfurizing your battery with NOCO® smart chargers.
1) Prepare your equipment.
Open the hood of your car, and locate the battery. Make sure your NOCO® charger is connected, and has the 12 Volt repair mode enabled (G3500, G7200, G15000, G26000 models only).
2) Connect the clamps.
Connect the NOCO® Genius Charger with the supplied clamps, or permanently connect to the supplied jumper terminals. Make sure to connect the negative (-) terminal before the positive (+) terminal.
3) Charge fully.
For best results, perform a full charge cycle on your battery, providing a full charge to the battery before using the 12V repair function.
4) Start the repair operation.
Activate the 12V repair mode of your smart charger, and keep it connected to your battery until your battery goes into standby mode (orange LED next to the power symbol). The 12V repair mode may take up to four (4) hours to complete the reset process.