Cart
No products in cart
Author: Brittany Lin NOCO® Team Leader
What exactly is the problem?
If your vehicle won't start, the problem may lie within the two main parts of the charging system: the battery or the alternator. If you take your vehicle to an auto parts store, they may give you a new battery for a few hundred dollars without running any tests. Don't make that mistake! A faulty alternator can destroy a perfectly healthy battery, leaving you right back where you started without a solution to your problem. Don't worry, diagnosing your vehicle's electrical problem is so easy that anyone can fix it by running these tests. For the tests, you will need a multimeter, which can be picked up at any auto parts store for only $5.
Testing your battery
A vehicle's battery has a shorter lifespan than its alternator and is therefore more likely to be the culprit of your problems. To save yourself time, it's a good idea to test the battery before the alternator. Follow these steps to safely check the condition of your battery.

Step 1: Inspect the terminals
Inspect the battery terminals for signs of corrosion. To clean corrosion, first remove the clamp from the black negative terminal, then from the red positive terminal. Cleaning is easy with a wire brush and battery cleaner.

Step 2: Inspect the cable
Inspect the wire entering the terminal clamps to make sure they are tight, undamaged, and free of corrosion. If the terminal clamps are severely corroded, replacing them with zinc battery terminals is an effective way to improve your electrical connection. Additionally, severely corroded wires may need to be cut and removed before reattaching.
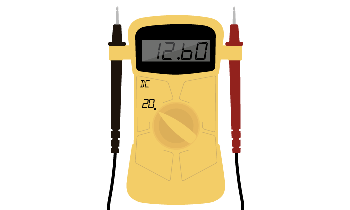
Step 3: Check the voltage
Connect one of the multimeter test leads to the negative terminal, then the other to the positive terminal. If the voltage reading is lower than 12.6 volts, then your battery is weak and needs to be replaced.
Step 4: Starting the engine
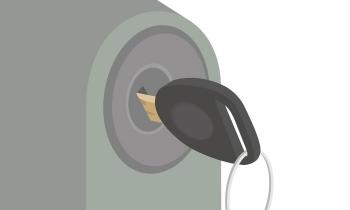
Connect one of the multimeter test leads to the negative terminal, then the other to the positive terminal. Have a friend start the vehicle while you watch the multimeter. If the voltage drops below 12v while the vehicle is running, then your battery is weak and needs to be replaced.
Testing your alternator
Alternators are used to charge your vehicle's battery while the engine is running. Undercharging/overcharging the battery or simply a completely dead alternator could be the source of the problem. Before performing the following tests, check to see if the power belt is tight around the alternator and is turning while the engine is running. Additionally, inspect the wiring from the alternator to the battery for any signs of damage, loose wires, or incorrect connections. Check the following tests to diagnose your vehicle's alternator:
Test A: The load test
The standard test to check the health of your alternator.
Step 1: Starting your vehicle
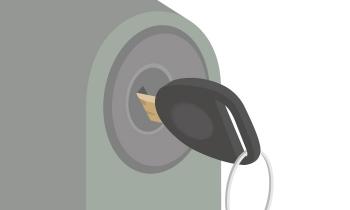
Turn your key in the ignition, as you normally would to start the engine.
Step 2: Powering the accessories
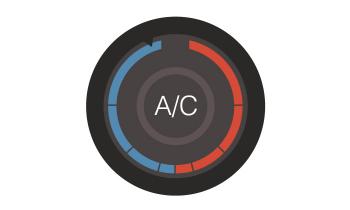
Turn on every electrical accessory you have access to. For example: stereo, air conditioning, heated seats, windshield wipers, etc. Modern cars have more accessories, so make sure you load them as heavily as you can.
Step 3: Check the voltage
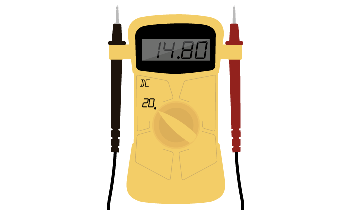
Connect one of the multimeter test leads to the negative terminal, then the other to the positive terminal. The voltage should read between 13-15 volts. If the voltage is outside this range, then your alternator is weak.
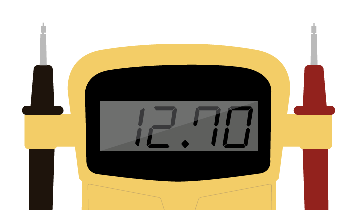
Step 4: Check the surface charge
When you turn off the vehicle, the voltage reading should be around 12.9 volts and then gradually decrease to 12.7 volts. This is called surface charging and is a good sign that your vehicle's alternator is doing its job successfully.
Test B: The light test
This is a quick test for people who don't have access to a multimeter.

Step 1: Find a location with low or no lighting
To get a better reading for this test, it is best to be in a slightly darkened area.

Step 2: Turn on the headlights and start the vehicle engine
Turn your key in the ignition, as you normally would to start the engine. Turn your headlights on to their normal setting.
Βήμα 3: Ενεργοποιήστε όλα τα αξεσουάρ
Turn on any electrical accessories you have access to. For example: stereo, air conditioning, heated seats, windshield wipers, etc.

Step 4: Inspect the headlights
Pay close attention to the brightness of your headlights as you turn on your accessories. If the brightness of your headlights begins to decrease significantly, then your alternator is weak. In more severe cases, the brightness of your headlights may continue to decrease until the vehicle comes to a complete stop.
Determining whether the battery or alternator is the cause of your vehicle's problem can be difficult. I hope that by reading our instructions you will be able to diagnose the problems with your vehicle. If you are still experiencing problems, we recommend that you take your vehicle to a reputable professional repair shop.